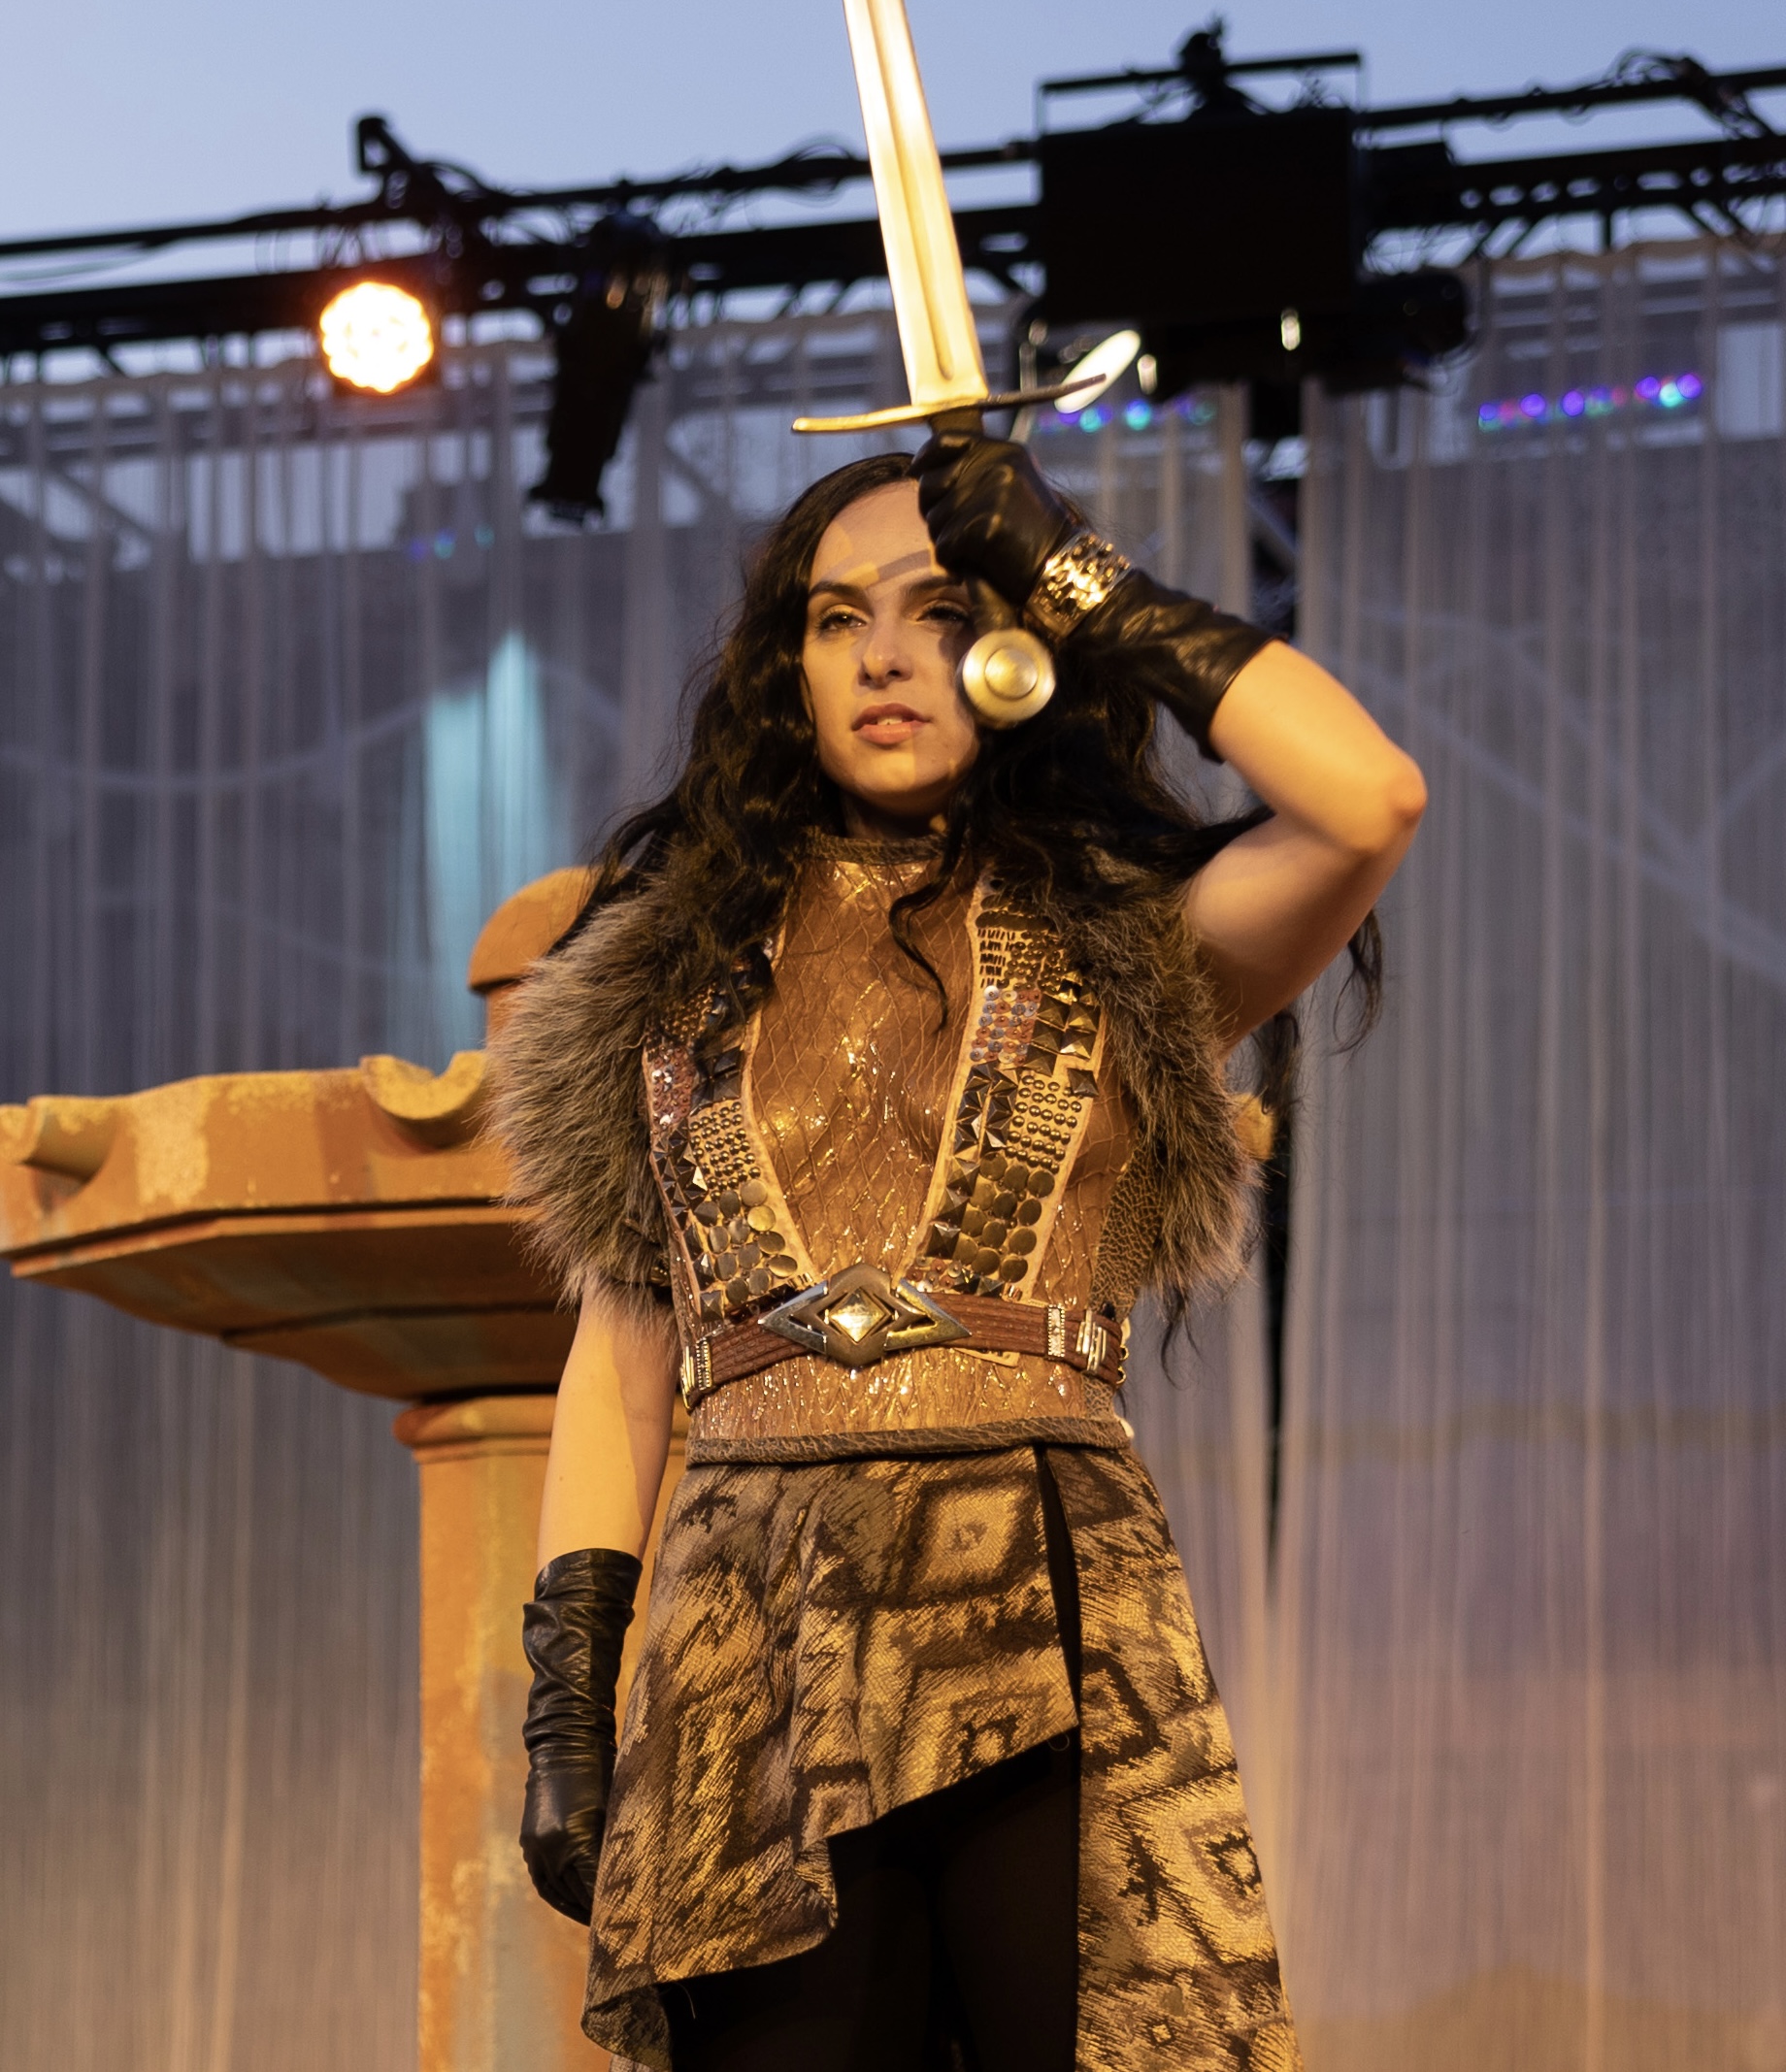
ARMORED CHEST PLATE IN FURS
Designed and created for Hippolyta in “A Midsummer Night’s Dream.” May 2022


Life Casting
This process began by life casting an exact mold of the actor’s torso. We wanted the breastplate to not be just decorative, but actually sculpted around the actor’s body. To do this, we used a two-part body safe silicon to create a mother mold.
First, we prepared the area with all the necessary tools and materials, including the two-part silicon, paintbrushes and mixing sticks, viscosity and hair release additives, plaster bandages, and water. We also made sure the model was comfortable by protecting a corner of the room with a wall to lean on, and setting clear boundaries with everyone involved in the process.
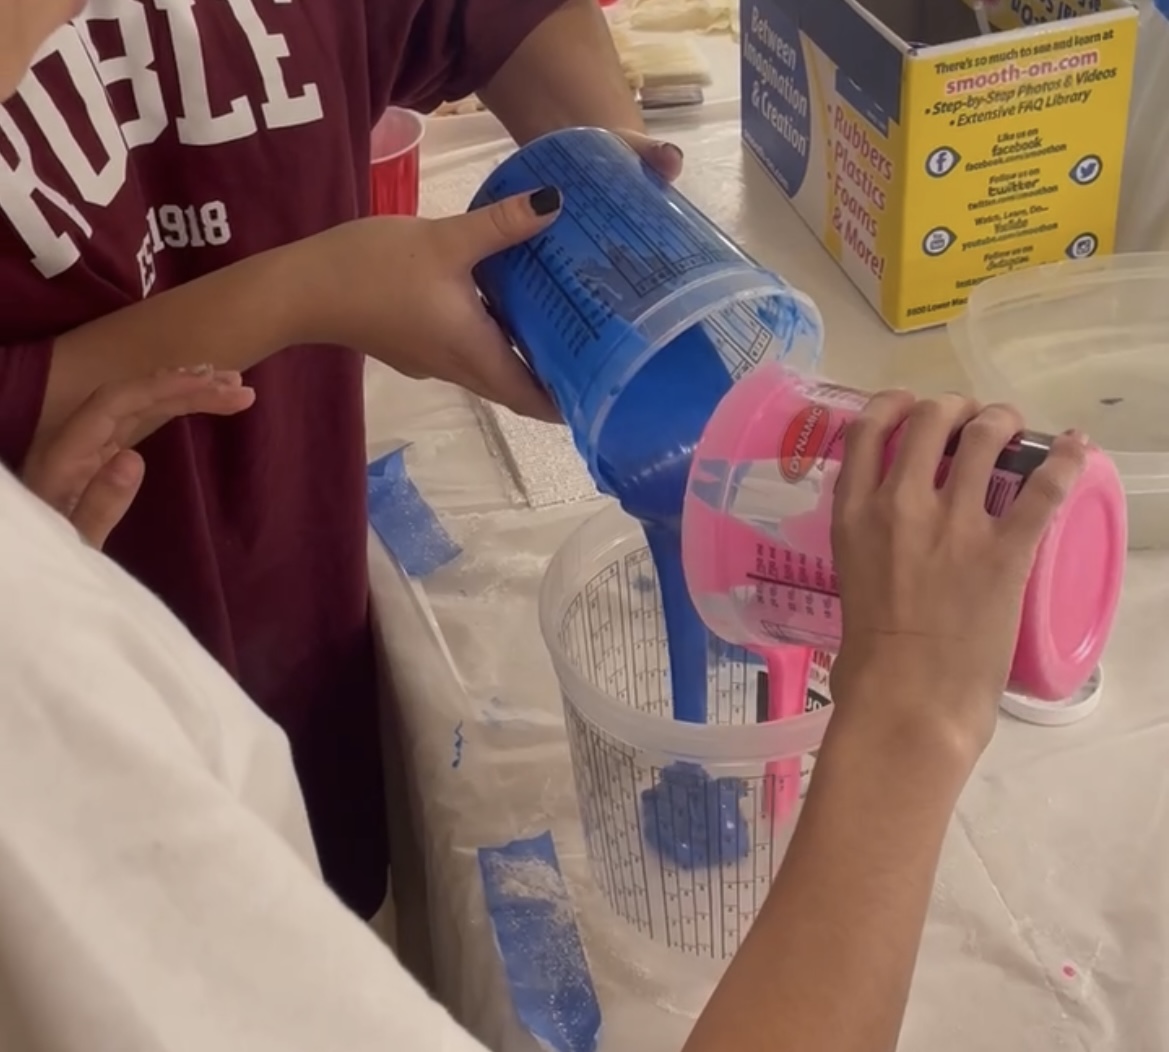
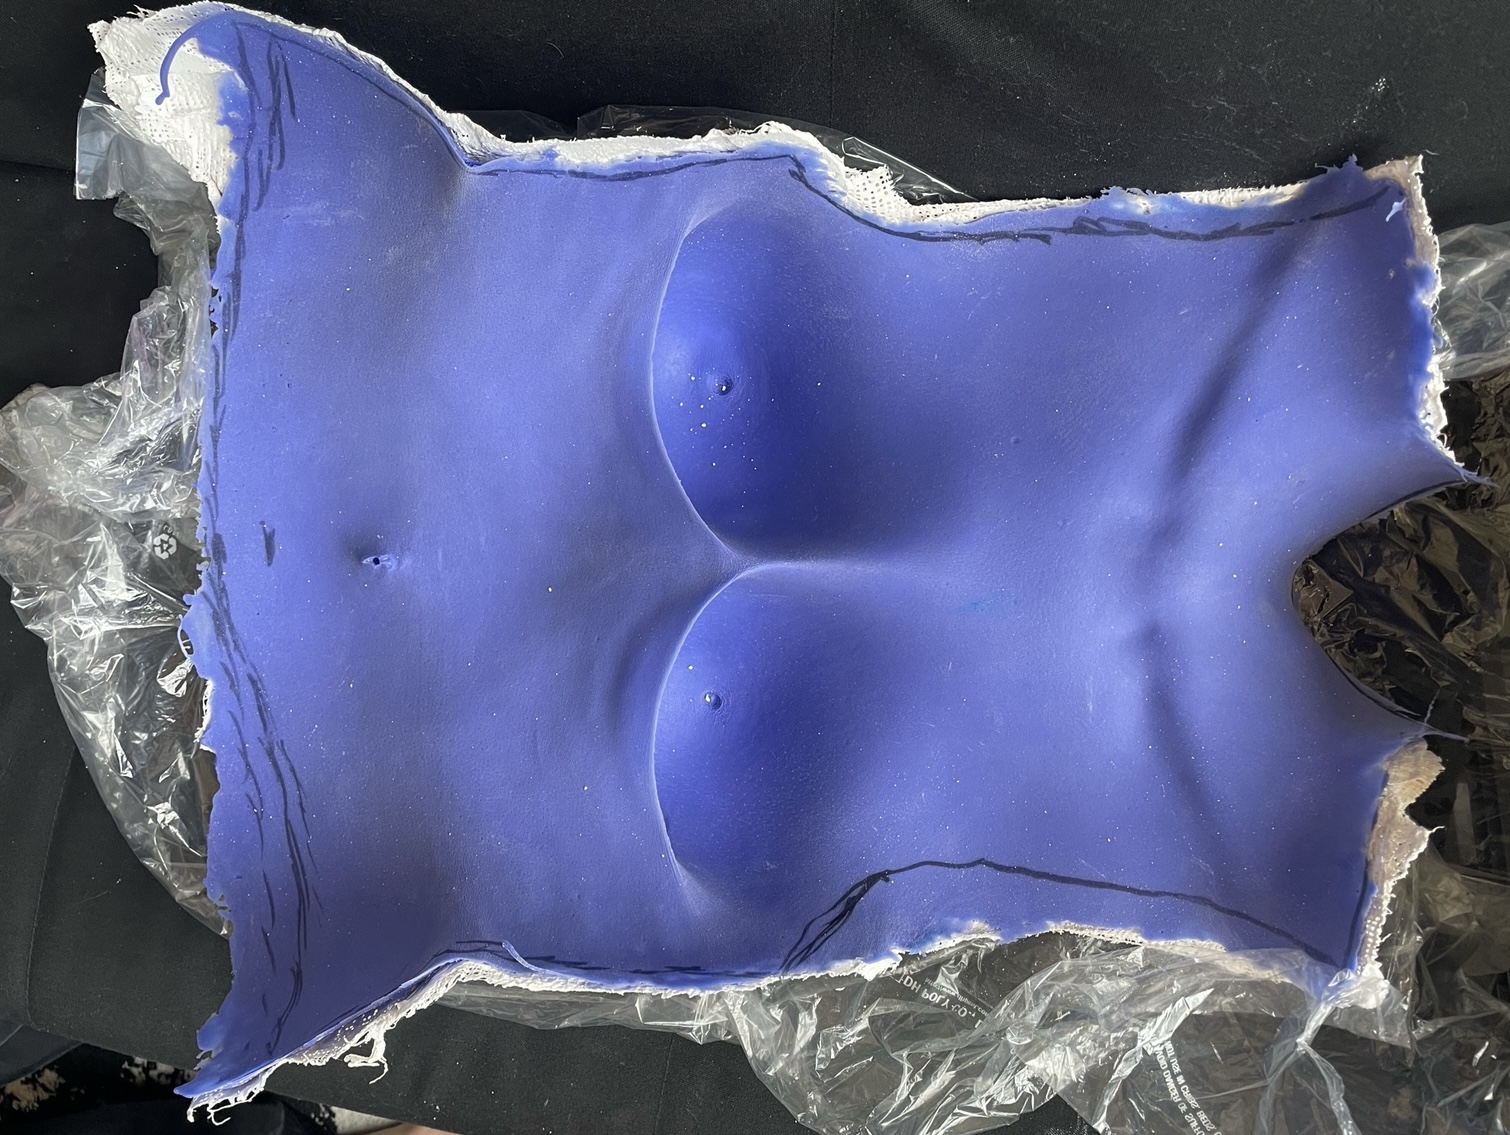
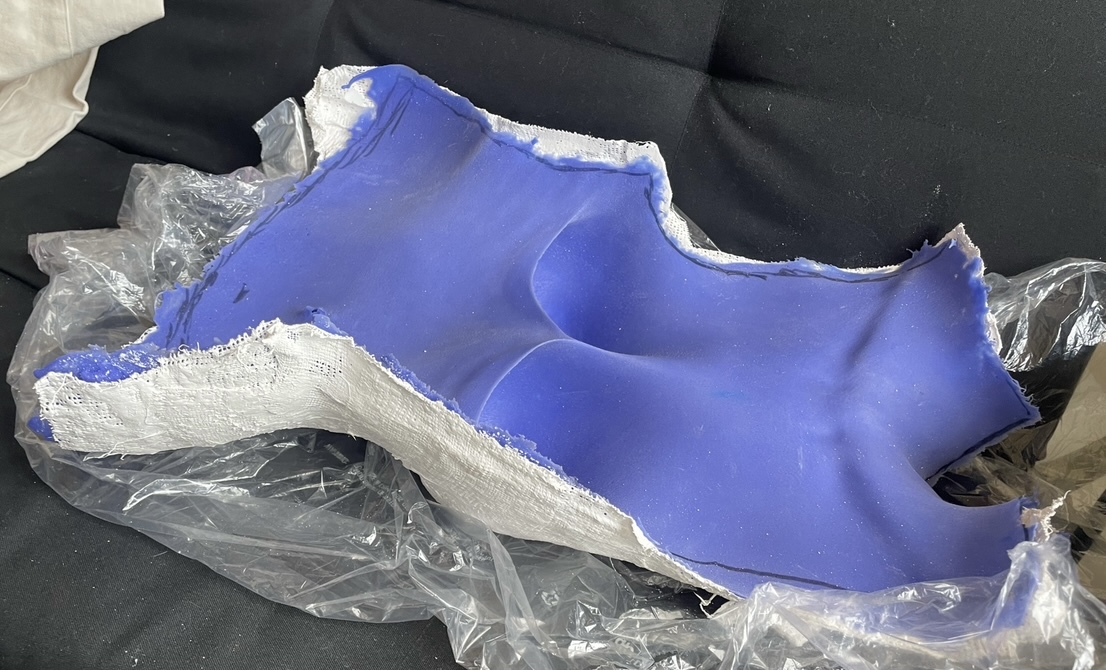
Next comes the fun part- creating the silicon portion of the mold. First, we mixed equal parts A and B of our silicon in separate containers, adding the appropriate amount of hair release to the first layer of the silicon. After thouroughly mixing all together, we work quickly to cover the entire torso in a thin, consistent layer covering the entire desired area within the 5 minute pot life. We wait another 5 minutes to partially cure, before repeating the previous process in a second layer. This time, instead of adding hair release, we add a few drops of viscosity to thicken the silicon. This makes it possible to fill in all the undercuts and make sure the final mold is representative of the true shape of the body. We let this cure completely for a full 20 minutes before moving onto the next stage of the moldmaking process.
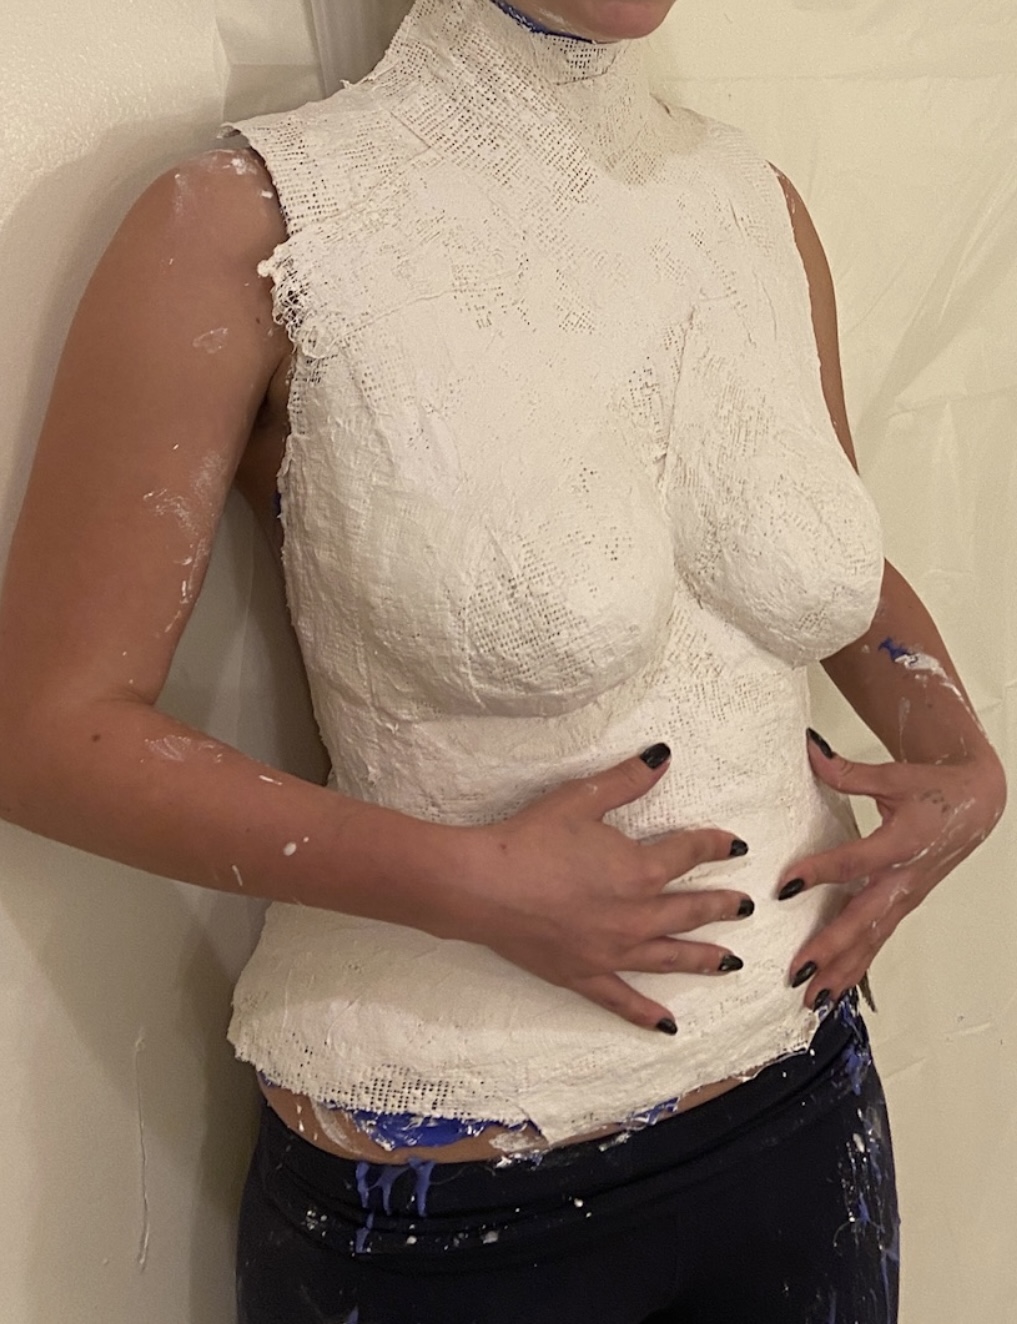
Next, we add a plaster shell. This helps the mold to maintain it’s shape when in use. To do this, we dunk plaster bandages in water and wring out before smoothing onto the cured silicon. We contour these to the body, making sure to cover all the silicon without any creases or bumps. Once content with plaster, we let this cure for 15 minutes.
The last step is removal. First, we slowly remove the support shell. Since the plaster does not cure to the silicon, this should come off quite easily. Next, we slowly peel back the silicon from the skin. Now we have a two part mother mold which we can use indefinitely to create new peices from.
*While the process is the exact same, these images are from my other project, Ecotopia, and not this project due to photography concerns.
This process began by life casting an exact mold of the actor’s torso. We wanted the breastplate to not be just decorative, but actually sculpted around the actor’s body. To do this, we used a two-part body safe silicon to create a mother mold.
First, we prepared the area with all the necessary tools and materials, including the two-part silicon, paintbrushes and mixing sticks, viscosity and hair release additives, plaster bandages, and water. We also made sure the model was comfortable by protecting a corner of the room with a wall to lean on, and setting clear boundaries with everyone involved in the process.
Next comes the fun part- creating the silicon portion of the mold. First, we mixed equal parts A and B of our silicon in separate containers, adding the appropriate amount of hair release to the first layer of the silicon. After thouroughly mixing all together, we work quickly to cover the entire torso in a thin, consistent layer covering the entire desired area within the 5 minute pot life. We wait another 5 minutes to partially cure, before repeating the previous process in a second layer. This time, instead of adding hair release, we add a few drops of viscosity to thicken the silicon. This makes it possible to fill in all the undercuts and make sure the final mold is representative of the true shape of the body. We let this cure completely for a full 20 minutes before moving onto the next stage of the moldmaking process.
Next, we add a plaster shell. This helps the mold to maintain it’s shape when in use. To do this, we dunk plaster bandages in water and wring out before smoothing onto the cured silicon. We contour these to the body, making sure to cover all the silicon without any creases or bumps. Once content with plaster, we let this cure for 15 minutes.
The last step is removal. First, we slowly remove the support shell. Since the plaster does not cure to the silicon, this should come off quite easily. Next, we slowly peel back the silicon from the skin. Now we have a two part mother mold which we can use indefinitely to create new peices from.
*While the process is the exact same, these images are from my other project, Ecotopia, and not this project due to photography concerns.

Casting the Breastplate
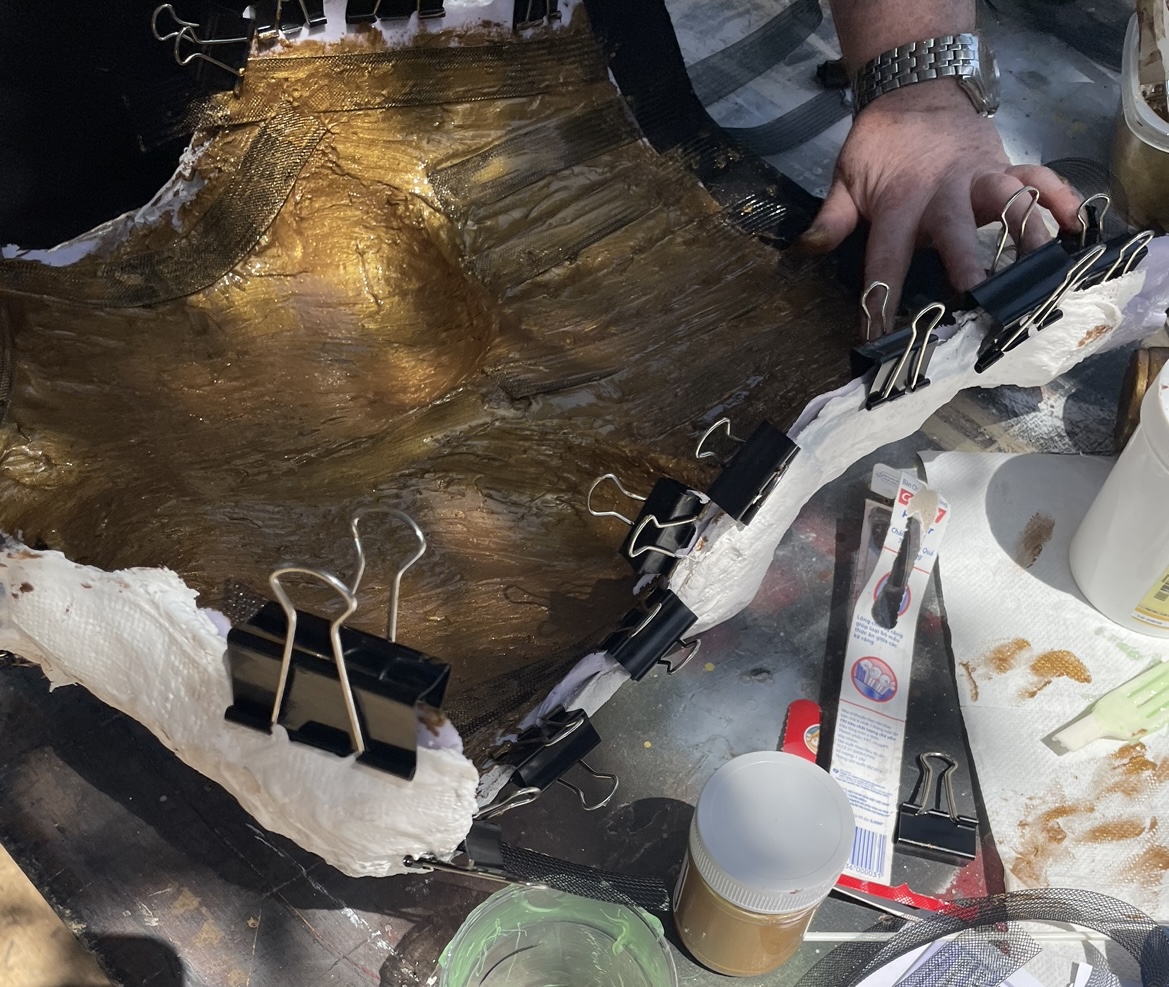
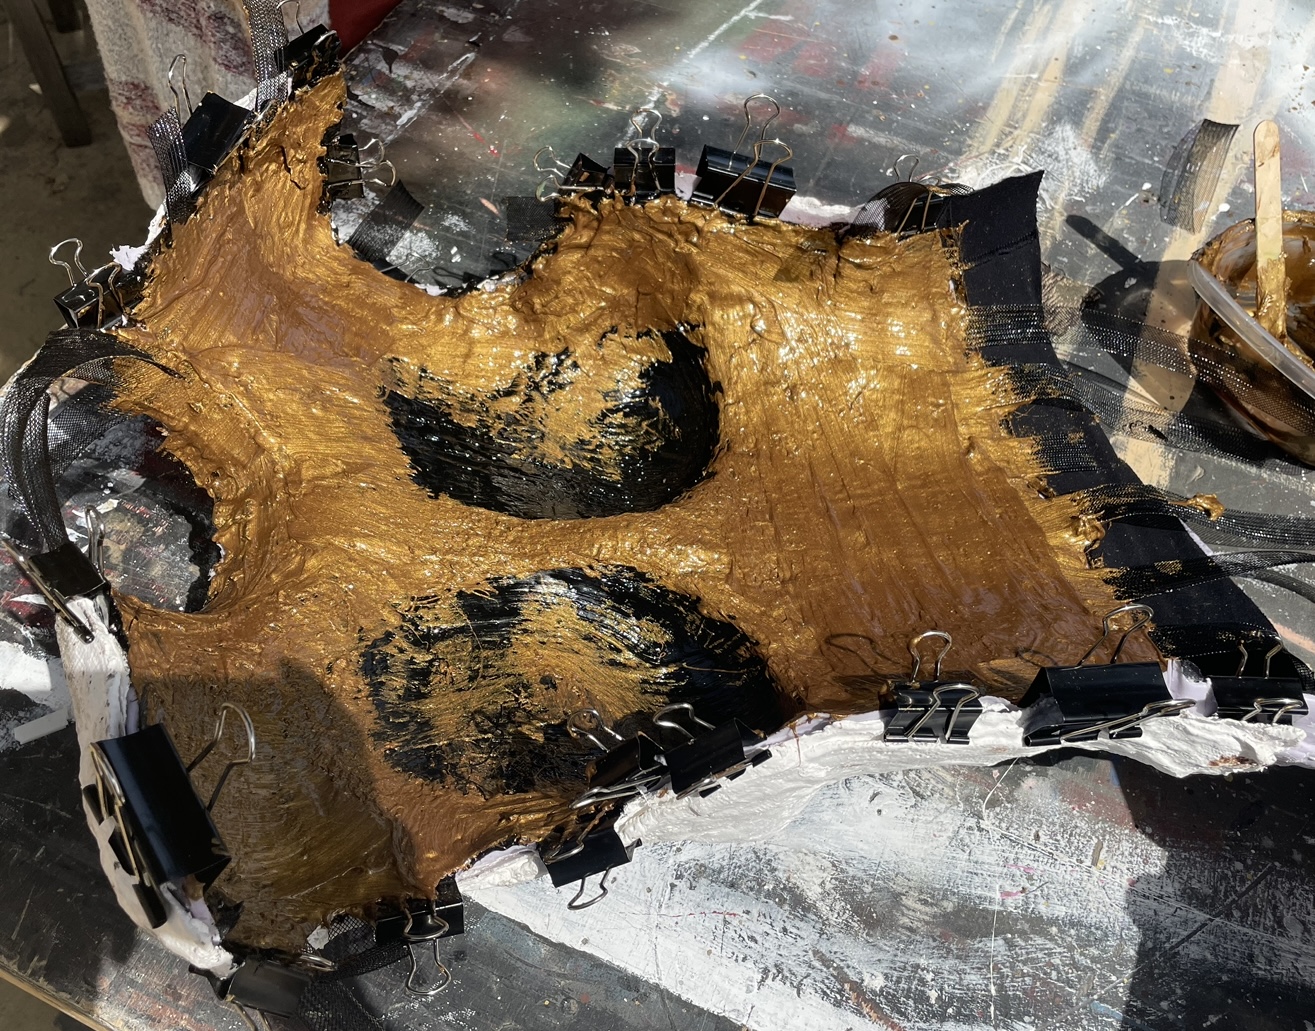
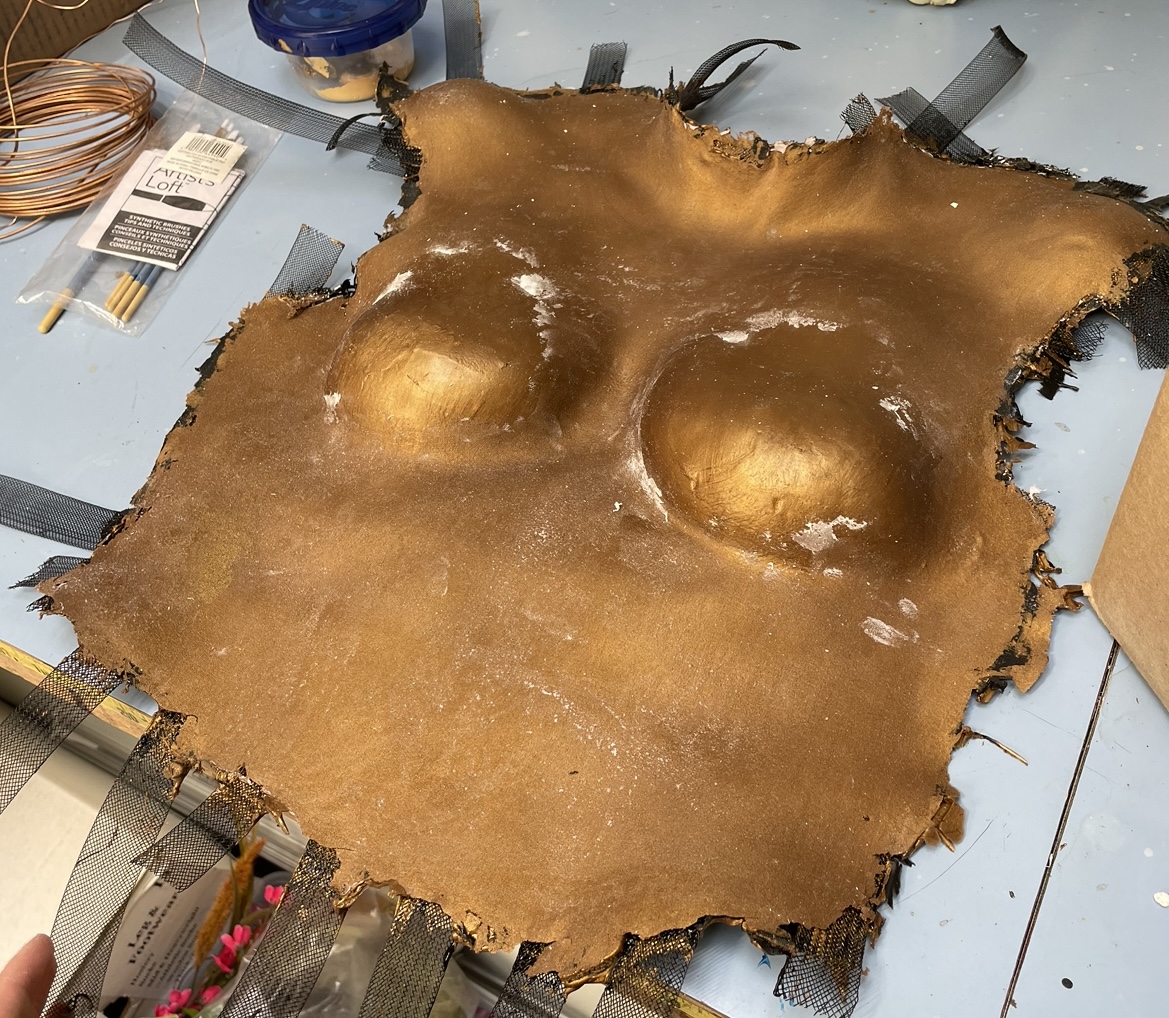
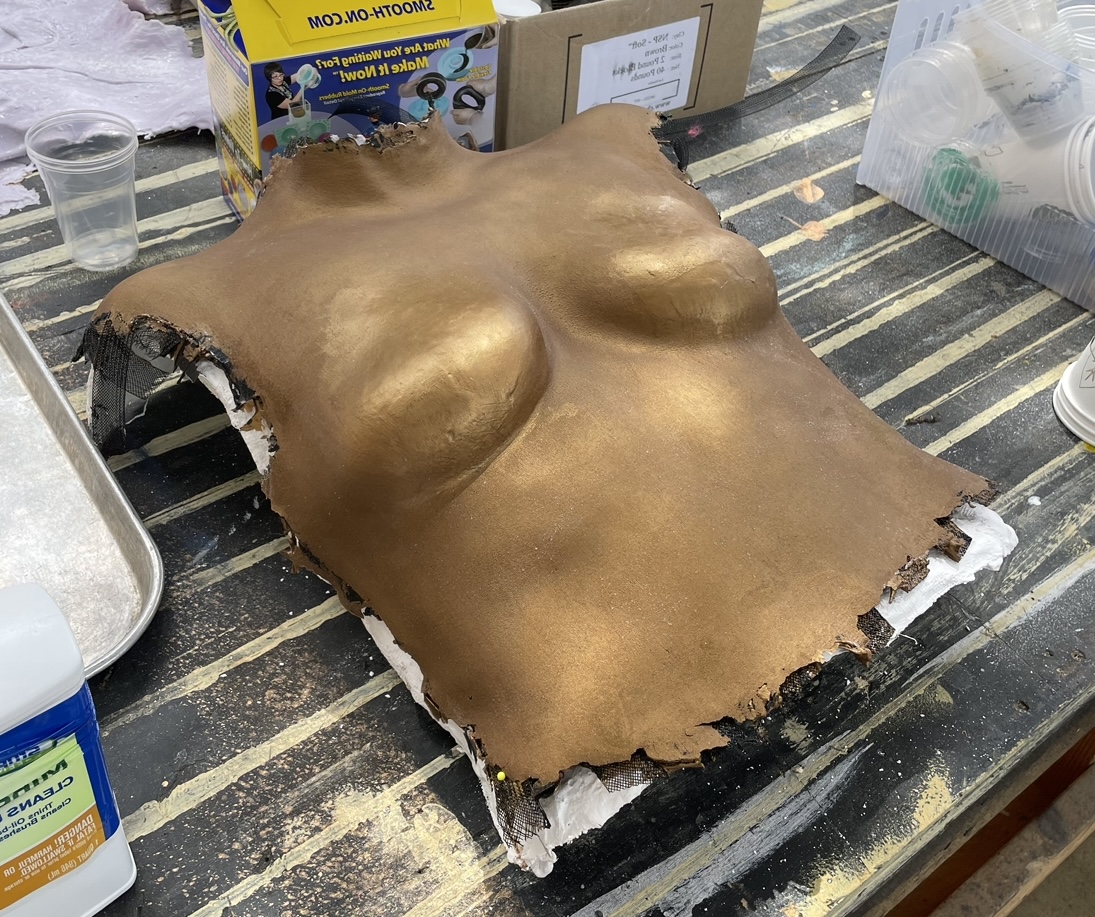
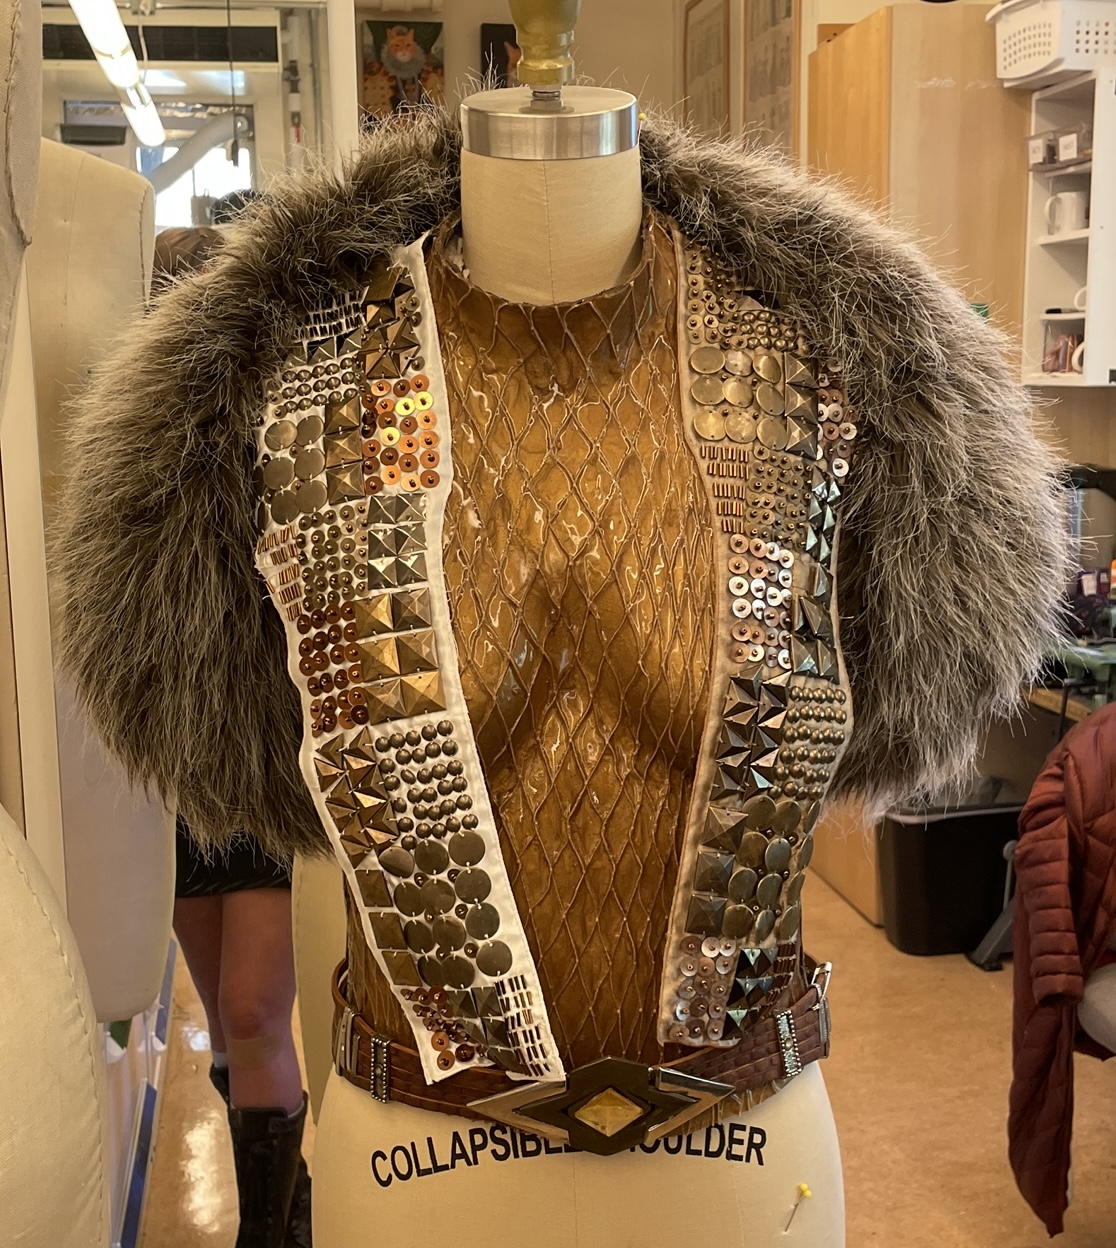
Using the mother mold, we cast the final breastplate. First, we coat the entire mold with Mold Release to ensure the silicon breastplate won’t stick to the silicon mother mold. Then we get to pouring. Using a special casting silicon, we mix the parts along with gold and bronze pigment in a thin layer and let cure fully. This will be the outer layer. Next, we added a black layer of silicon to make the gold really shine and the entire piece completely opaque. In the final inner layer, we also add in strips of horse hair vertically and horizontally to add structure and strength to the final garment. We clean up any filler with mineral spirits and trim the excess horse hair.
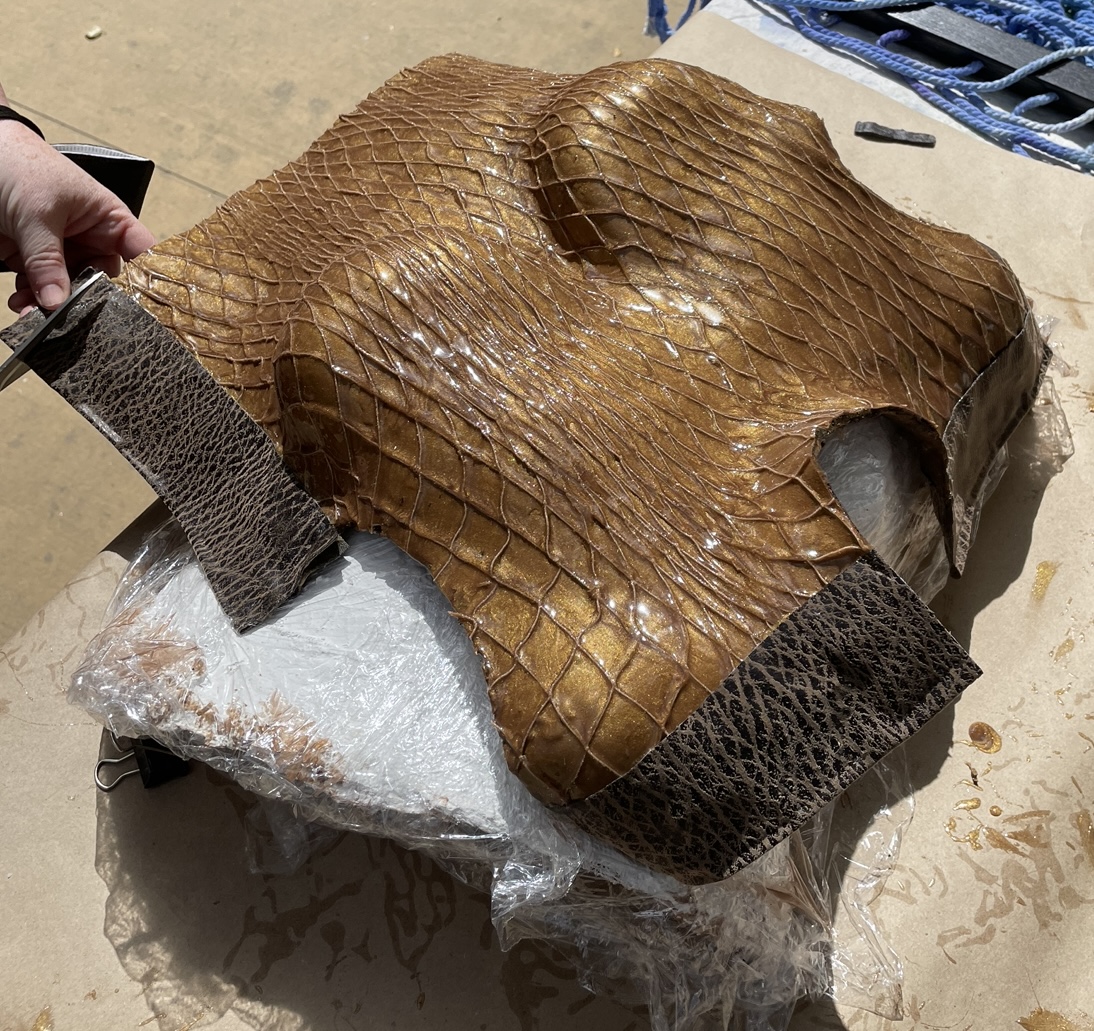
After releasing our breastplate from the silicon mold, we can see how the garment will look once on the actor. To add texture, we decide to coat white netting in our gold silicon, and smooth atop the garment to cure. To really set the netting in and add a glossy shine, we add a final translucent layer of silicon to the casting.
The last step of our curing process is adding the trim. In the previous iterations, we are left with uneven and rough edges that can’t be sewn through. To address this, we cure on strips of faux leather to the edges. After trimming the silicon, we cut our strips to size, overlapping the silicon and folding the excess over itself and onto the inside. This ensures the leather will be secured fully to the breastplate, while leaving room to sew on the back of the garment. We coat the silicon over the inside of the entire strip, secure with binder clips, and let cure.
After curing, our breastplate is nearly complete.
Using the mother mold, we cast the final breastplate. First, we coat the entire mold with Mold Release to ensure the silicon breastplate won’t stick to the silicon mother mold. Then we get to pouring. Using a special casting silicon, we mix the parts along with gold and bronze pigment in a thin layer and let cure fully. This will be the outer layer. Next, we added a black layer of silicon to make the gold really shine and the entire piece completely opaque. In the final inner layer, we also add in strips of horse hair vertically and horizontally to add structure and strength to the final garment. We clean up any filler with mineral spirits and trim the excess horse hair.
After releasing our breastplate from the silicon mold, we can see how the garment will look once on the actor. To add texture, we decide to coat white netting in our gold silicon, and smooth atop the garment to cure. To really set the netting in and add a glossy shine, we add a final translucent layer of silicon to the casting.
The last step of our curing process is adding the trim. In the previous iterations, we are left with uneven and rough edges that can’t be sewn through. To address this, we cure on strips of faux leather to the edges. After trimming the silicon, we cut our strips to size, overlapping the silicon and folding the excess over itself and onto the inside. This ensures the leather will be secured fully to the breastplate, while leaving room to sew on the back of the garment. We coat the silicon over the inside of the entire strip, secure with binder clips, and let cure.
After curing, our breastplate is nearly complete.
Finishing the Breastplate
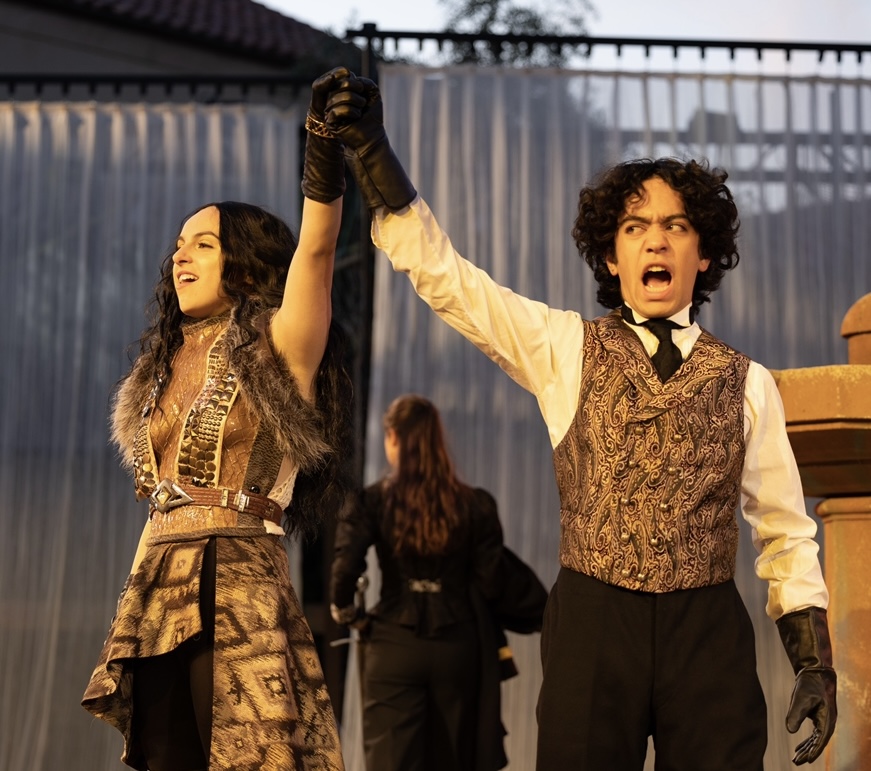
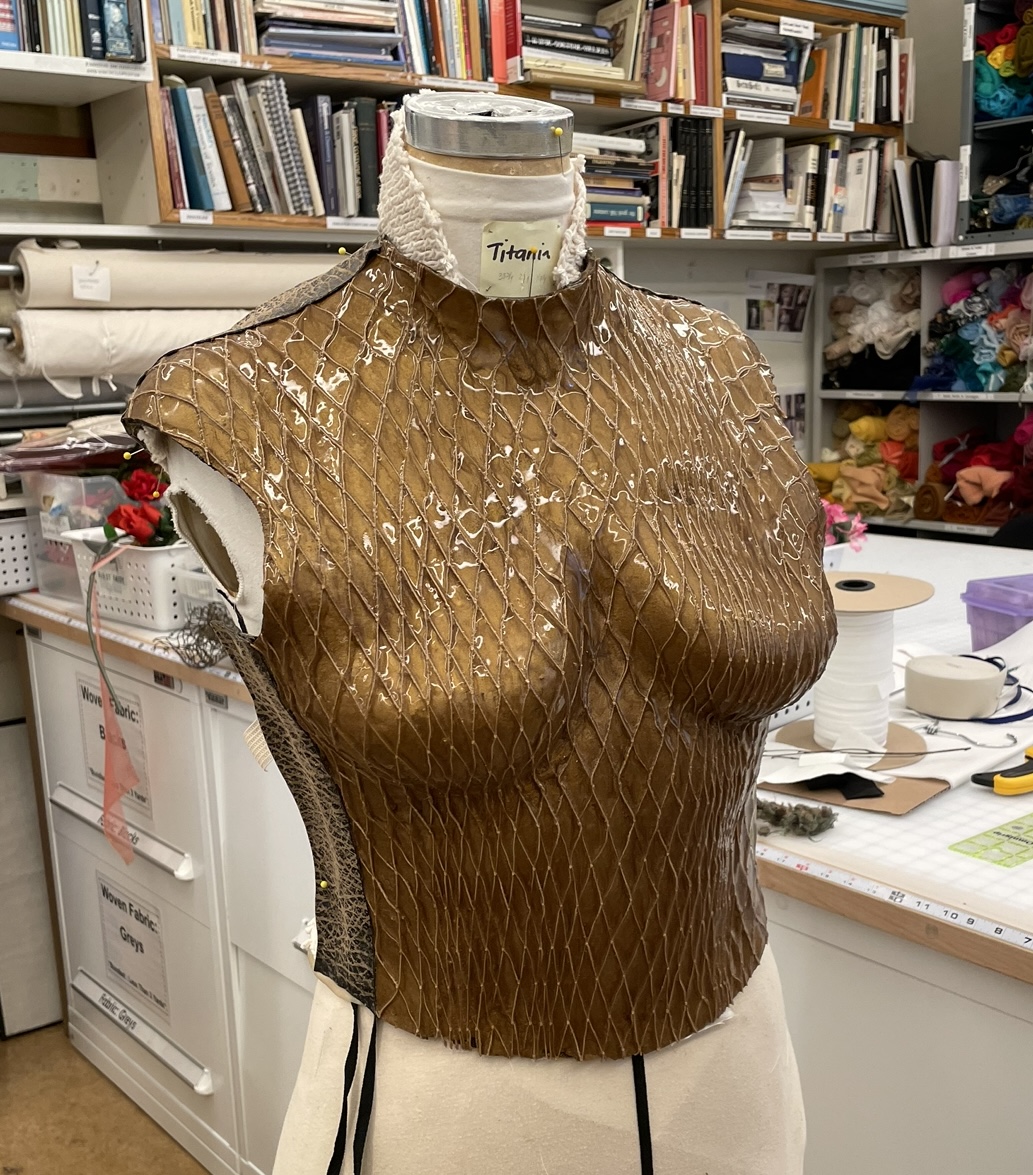
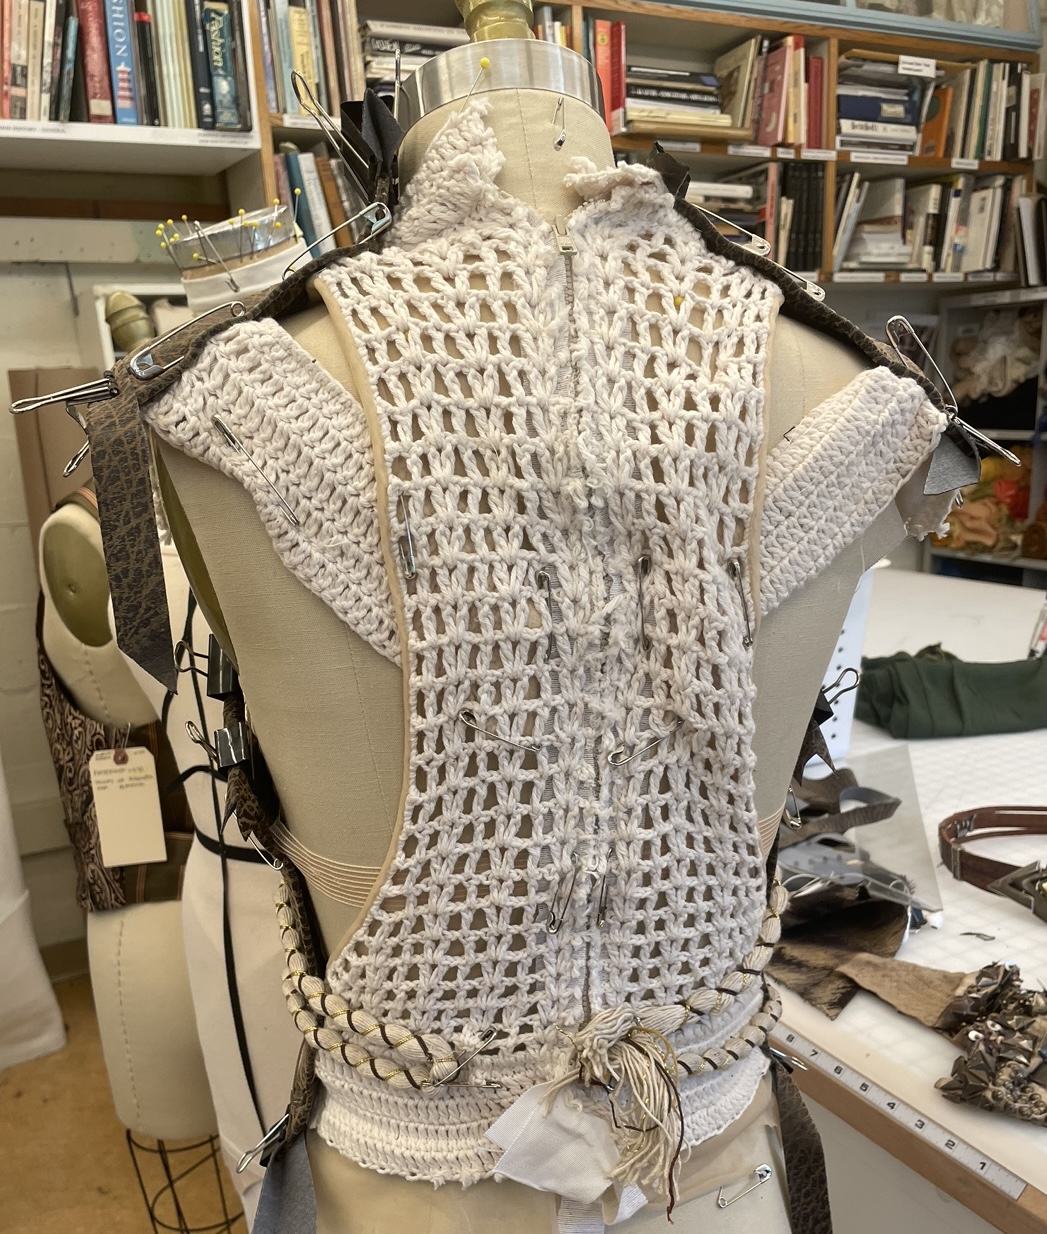
Now, we make the breastplate wearable. Left is the backing we chose, reworked from a series of crochet garments and lined with a power mesh for comfort. The back is finished with a separating zipper so the actor can easily get in and out.
The embellishments were a director request. Wanting to stick to the hunting theme, I chose a fur to overlap the back and some scrap studded fabric as an overlay, which I dyed a murky brown. We added snaps to these pieces so we could use the breastplate in a variety of ways in the future.
Life molding this breastplate ensured it was more than just adorning the body; it was sculpted onto the body.